

Arc'teryx Alpha SL 30 DIY Modification
The Alpha SL 30, Improved
How I modified the Arc'teryx Alpha SL 30 for ski mountaineering.
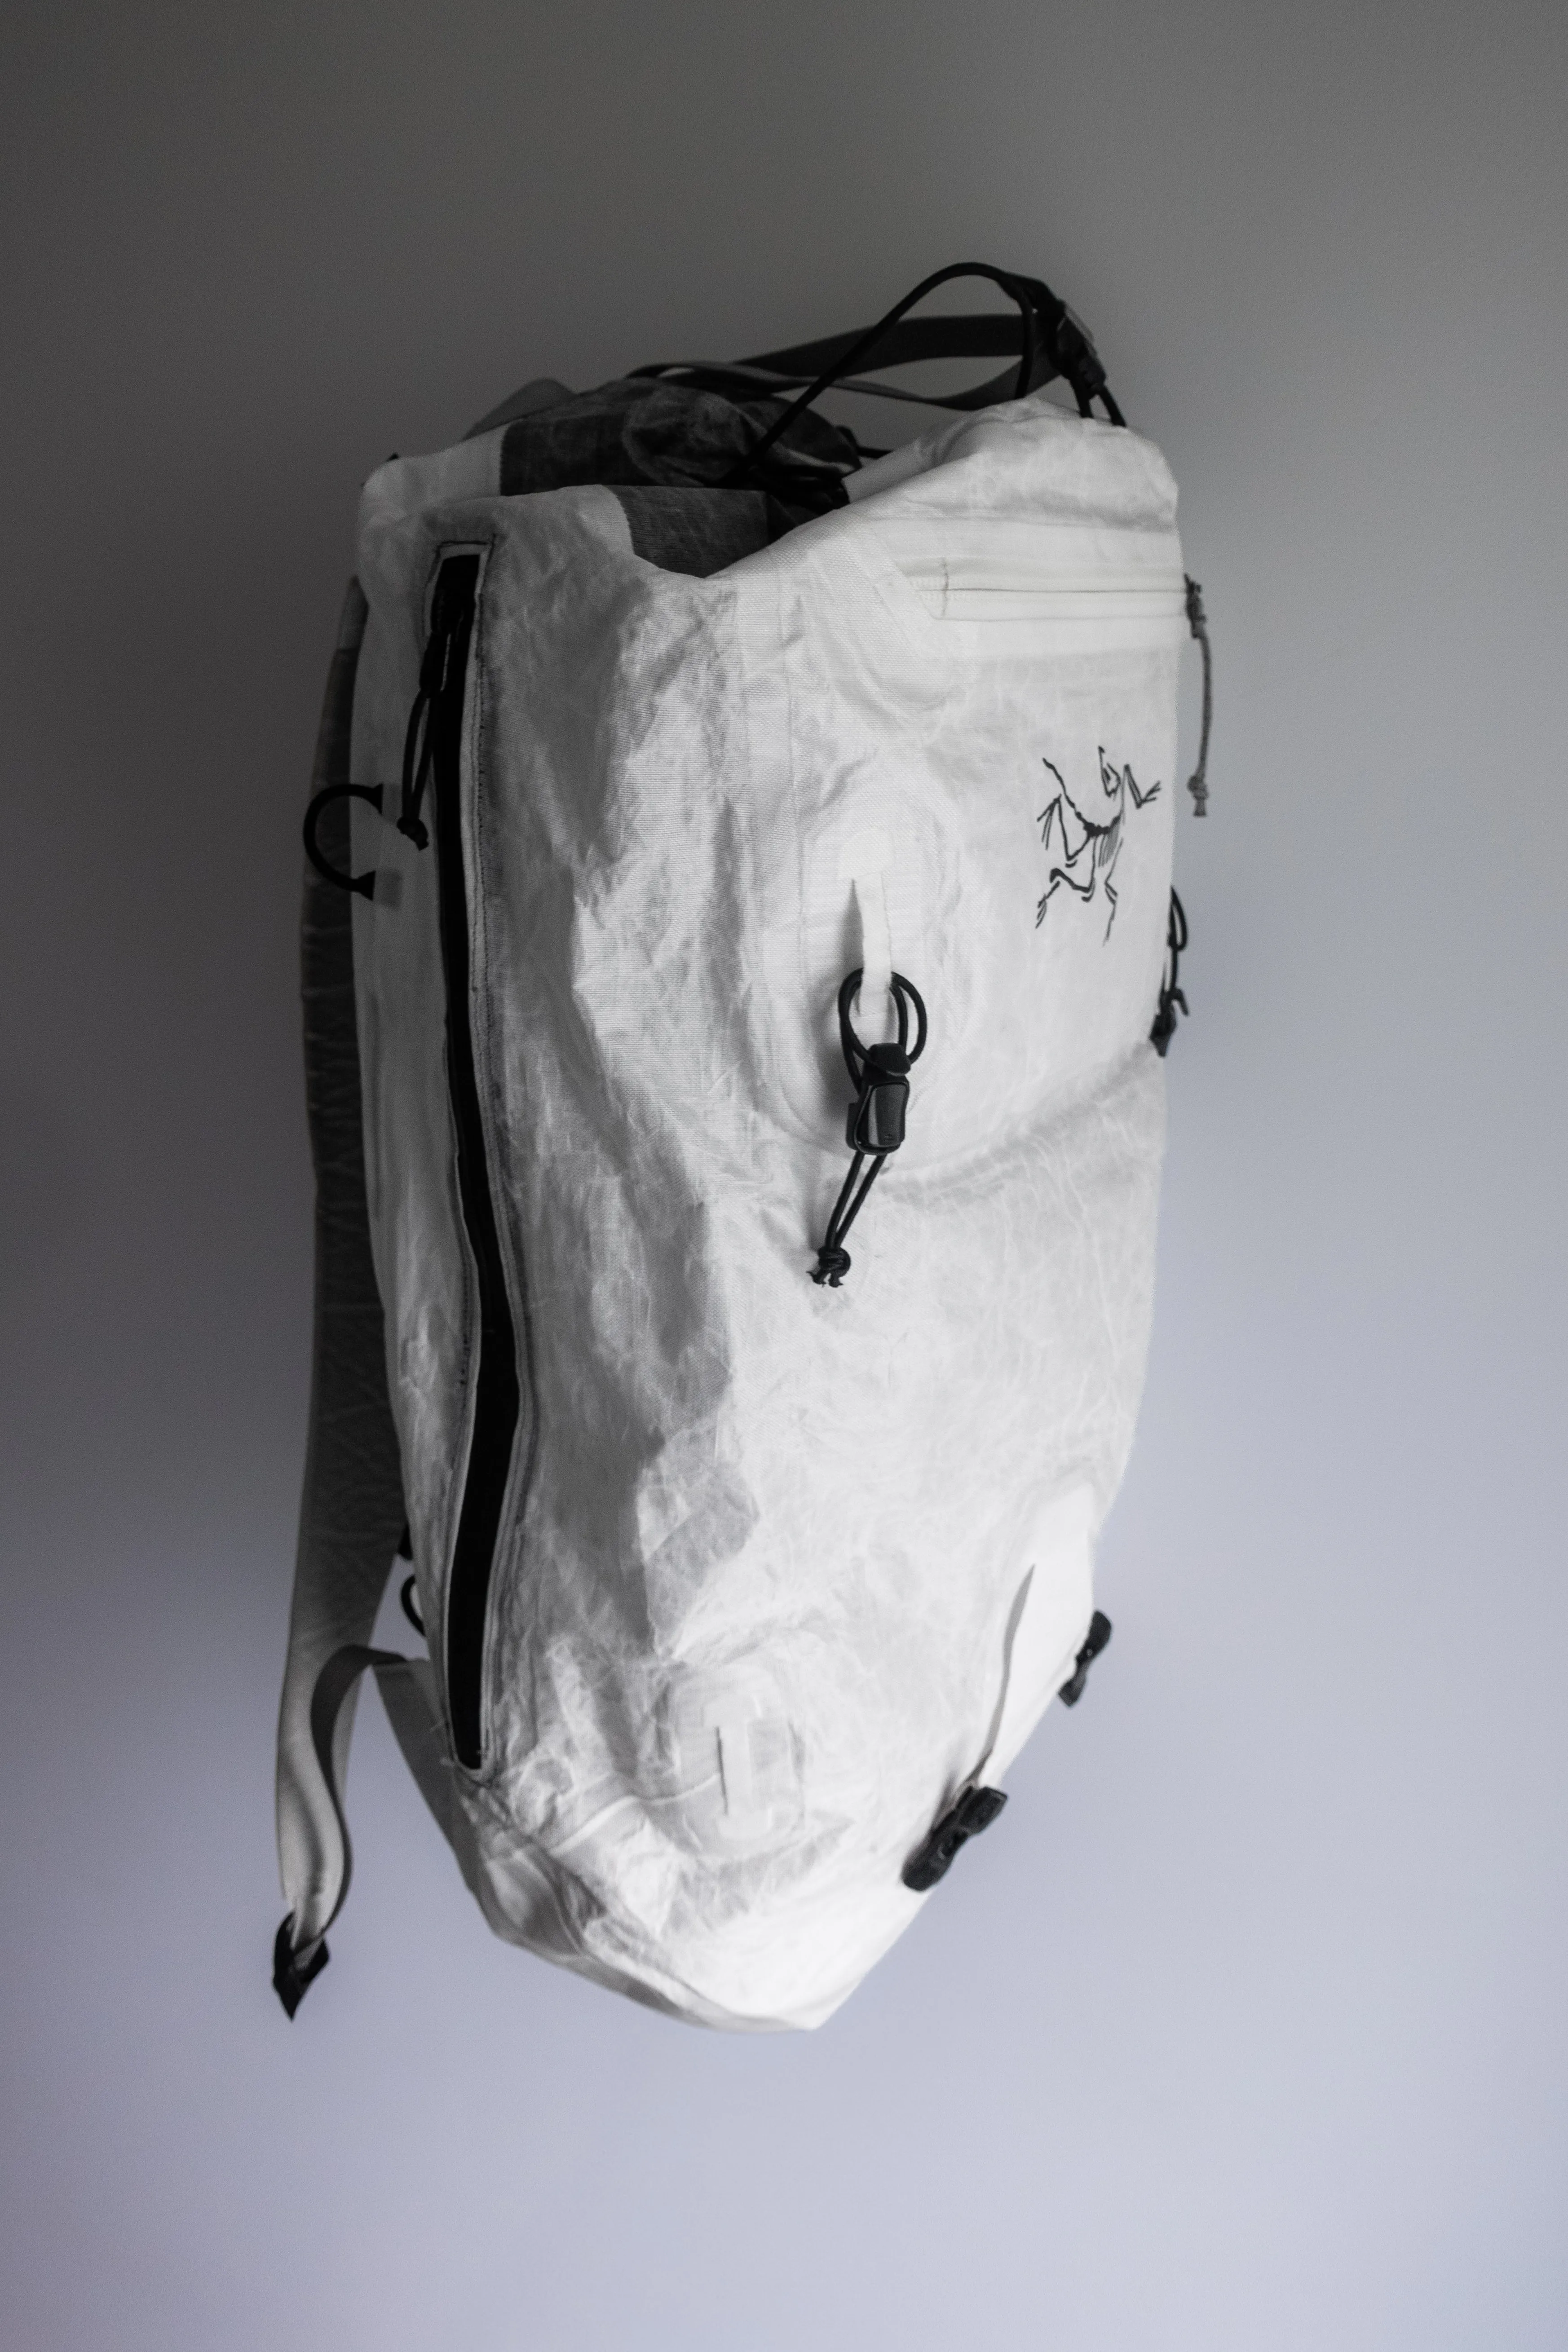
The result
The side zipper fixed my biggest frustration with the Alpha SL, and the skimo carry made it much more useful for technical ski days. It has a specific place in my quiver, but it is a far better pack because of these changes.
- Best for
- Climb-heavy mountain days and Alps-style spring objectives when 30 litres is enough
- Conditions
- Alpine climbing and fast, light spring ski-mountaineering objectives
- Disclosure
- Purchased with personal funds. James, one of my closest friends and the owner of Tantalus Supply Co., did the modification as a favour. I bought dinner and drinks. Tantalus Supply Co. also takes on paid modification and repair work. Modifying the pack may void its warranty.
Manufacturer data
At a glance
- Pack
- Arc'teryx Alpha SL 30
- Stated volume
- 30 L
- Main material
- ALUULA Graflyte
- Stock dimensions
- 55 × 27 × 17 cm
- Stock access
- Drawcord top opening with integrated mini-lid
- Modification one
- 38 cm side access with a water-resistant zipper
- Modification two
- Quick diagonal skimo ski carry
I have a habit of buying very simple backpacks and then wishing they were slightly less simple.
The Arc’teryx Alpha SL 30 is exactly that kind of pack. It is a 30-litre alpine climbing pack made from ALUULA Graflyte, a very light laminate that gives it a translucent, almost prototype-like look. The design is stripped right back: shoulder straps, a small waist belt, removable compression straps, ice-tool attachments, and one main tube that opens at the top.
That simplicity is why I like it. It is also my biggest problem with it.
I have owned several top-loading Hyperlite packs with the same basic design. No matter how carefully I pack them, whatever I need eventually works its way to the bottom. Usually it is a layer, my puffy, a heavy water bottle, or the first-aid and repair kit. In the worst case, I end up unloading most of the pack into the snow just to reach it.
The solution to this was simple: add a side zipper. The hard part was finding the courage, or stupidity, to put scissors through a roughly $500 pack.
Why add a side zipper?
The Alpha SL is a very fancy tube. It has a drawcord opening and a small integrated flap at the top, but there is no other way into the main compartment.
That is normal for alpine climbing packs. A long zipper adds weight and another possible failure point, so I understand why Arc’teryx left it out. I still wanted one.
The side zipper means I no longer have to pack everything in the exact order I think I will need it. If a layer, gloves, or my repair kit end up underneath the rope and the rest of my gear, I can go straight in from the side. I can also leave skis or tools attached to the outside while I get into the main compartment.
The goal was not to make the whole pack open flat. I wanted to keep its simple top-loading design, with a side zipper for reaching buried gear.
Past the point of no return
One of my closest friends, James, runs Tantalus Supply Co., where he modifies and repairs outdoor equipment. One Friday evening, while my partner and James’s wife were out, James and I were hydrating ourselves with some “waters” after work at the kitchen table.
I showed him an Instagram video of another repair company adding side zippers to older Arc’teryx packs. James looked at it and said he had everything we would need, including a suitable water-resistant zipper.
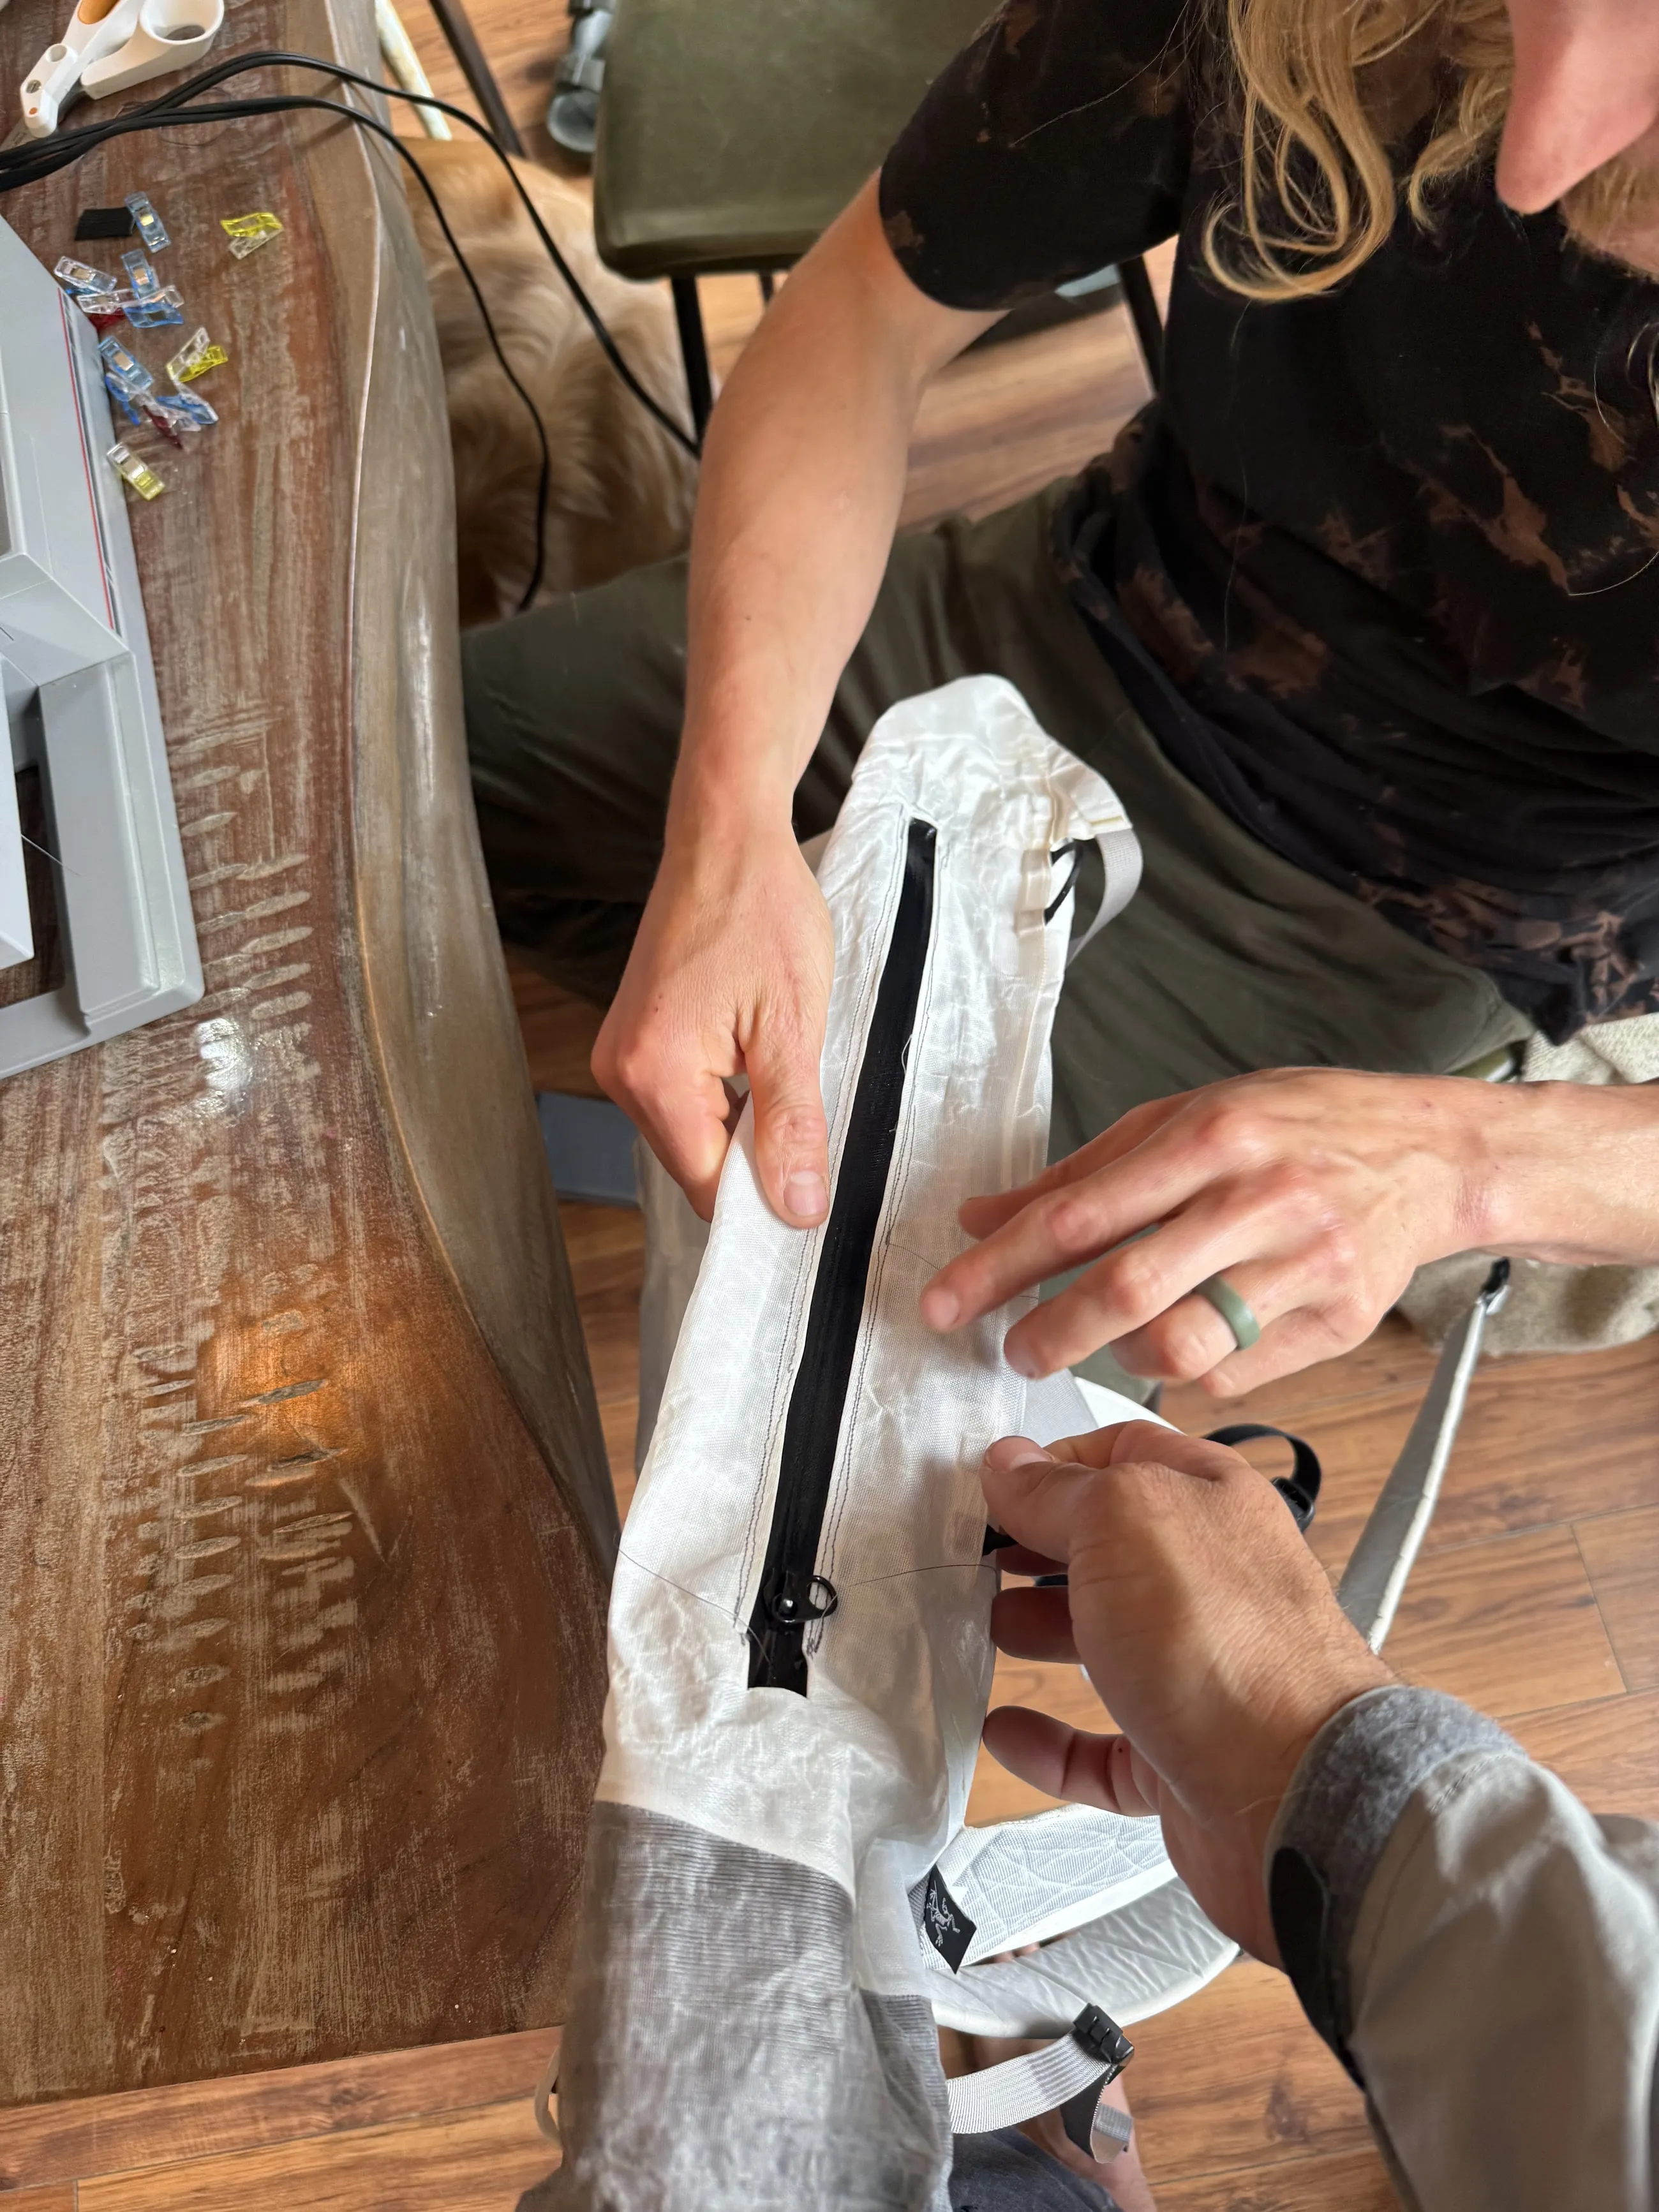
Not long after that, the Alpha SL was spread across the table.
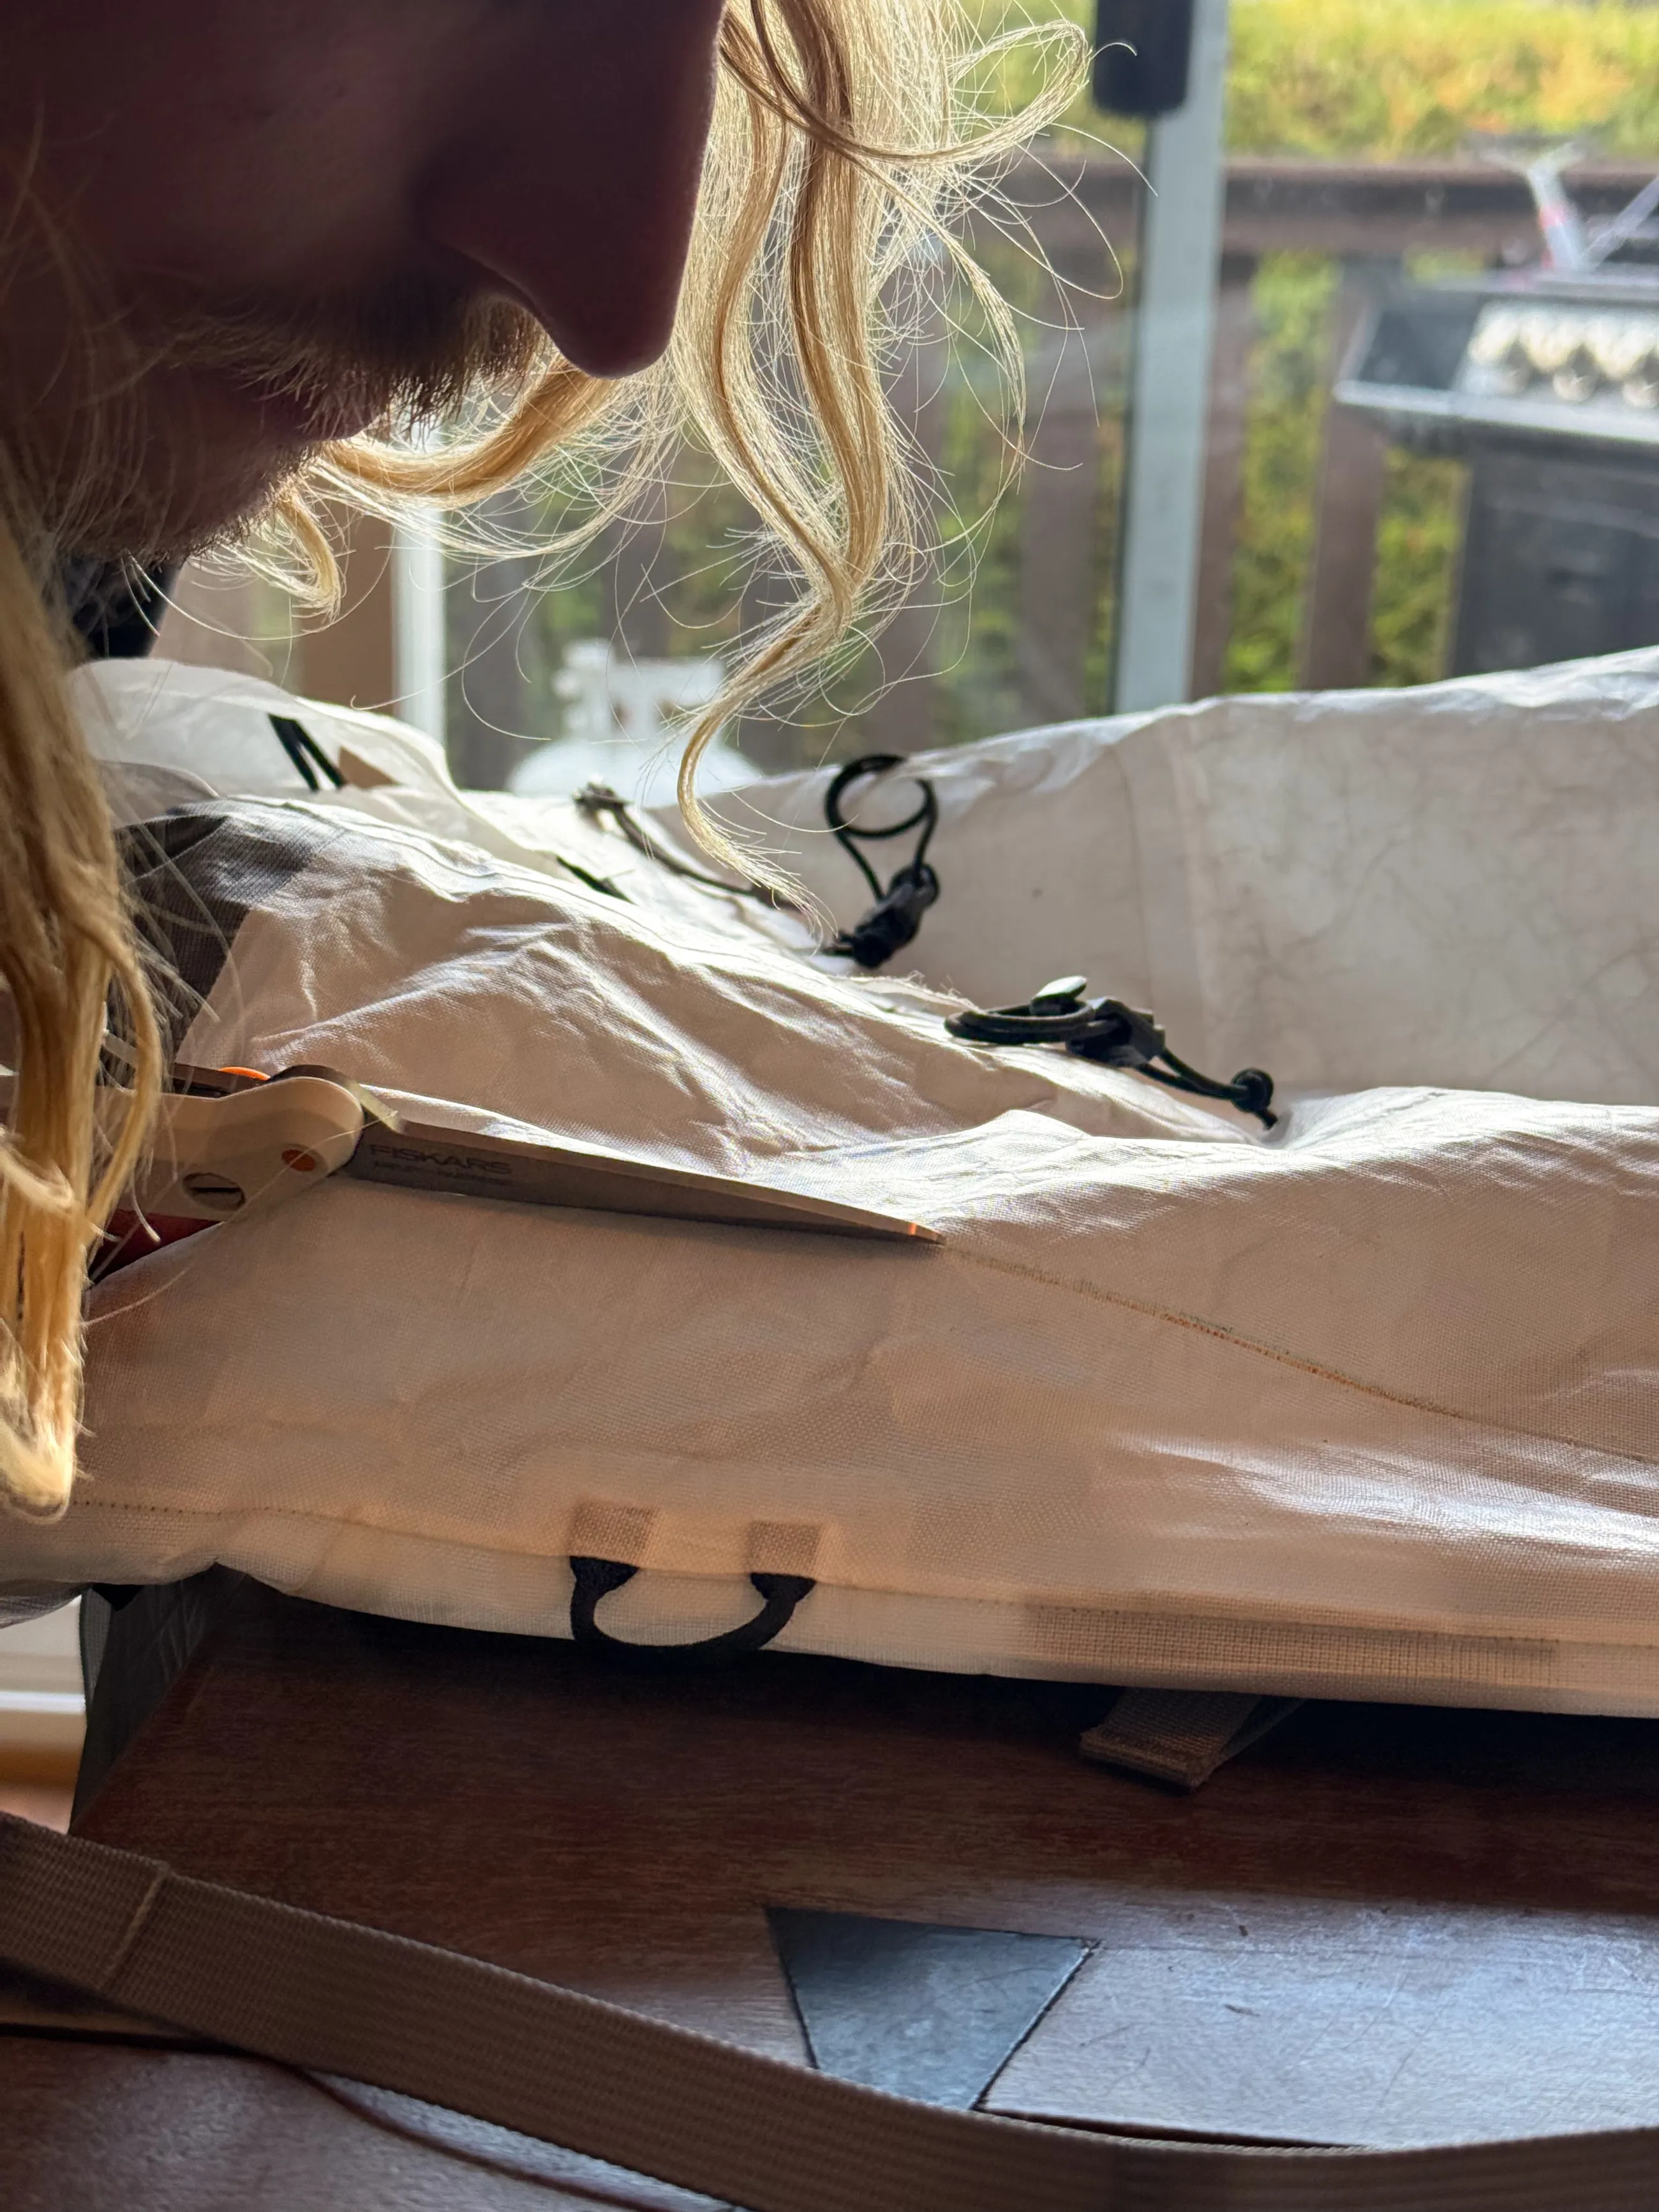
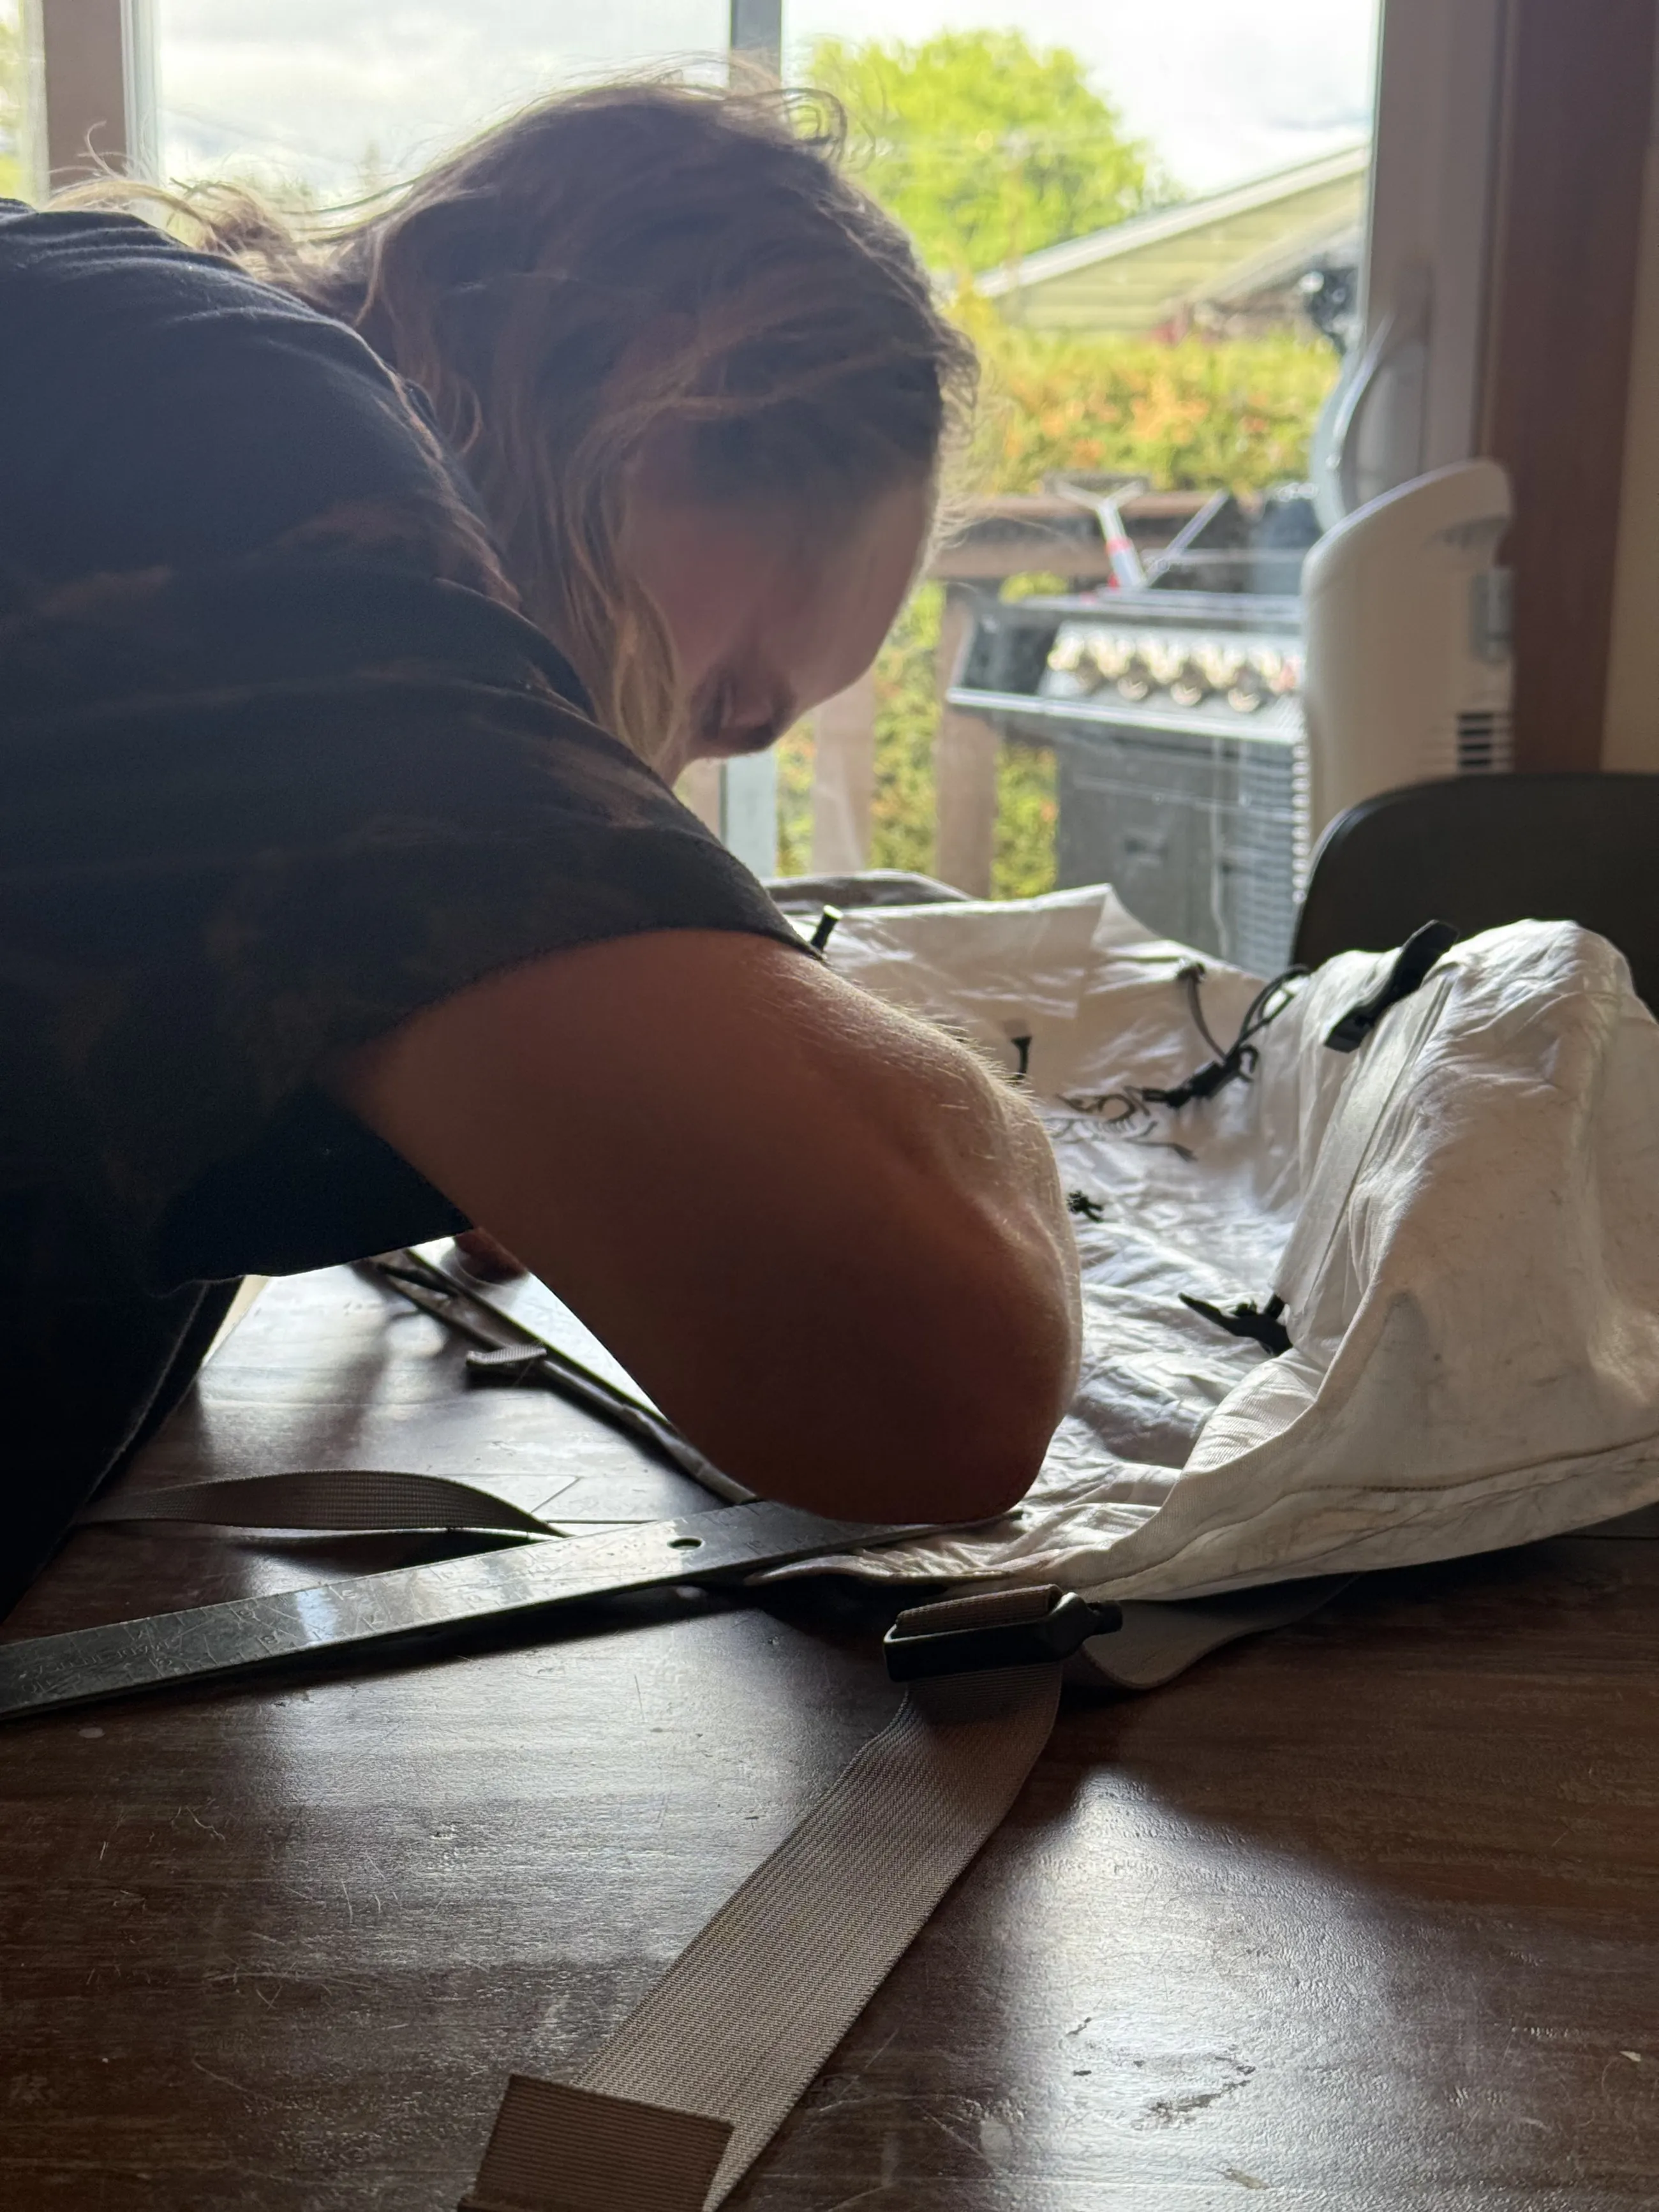
James marked the zipper, checked it, and picked up the scissors. Neither of us said much, but we were both anxious. The first cut was the point of no return.
Luckily, James is a savant with this kind of work. He understood how the fabric, zipper, and stitching needed to work together. I mostly trusted him and tried not to think too hard about what we had just done. The “waters” may have helped, although I would not call that a best practice.
Building the zipper
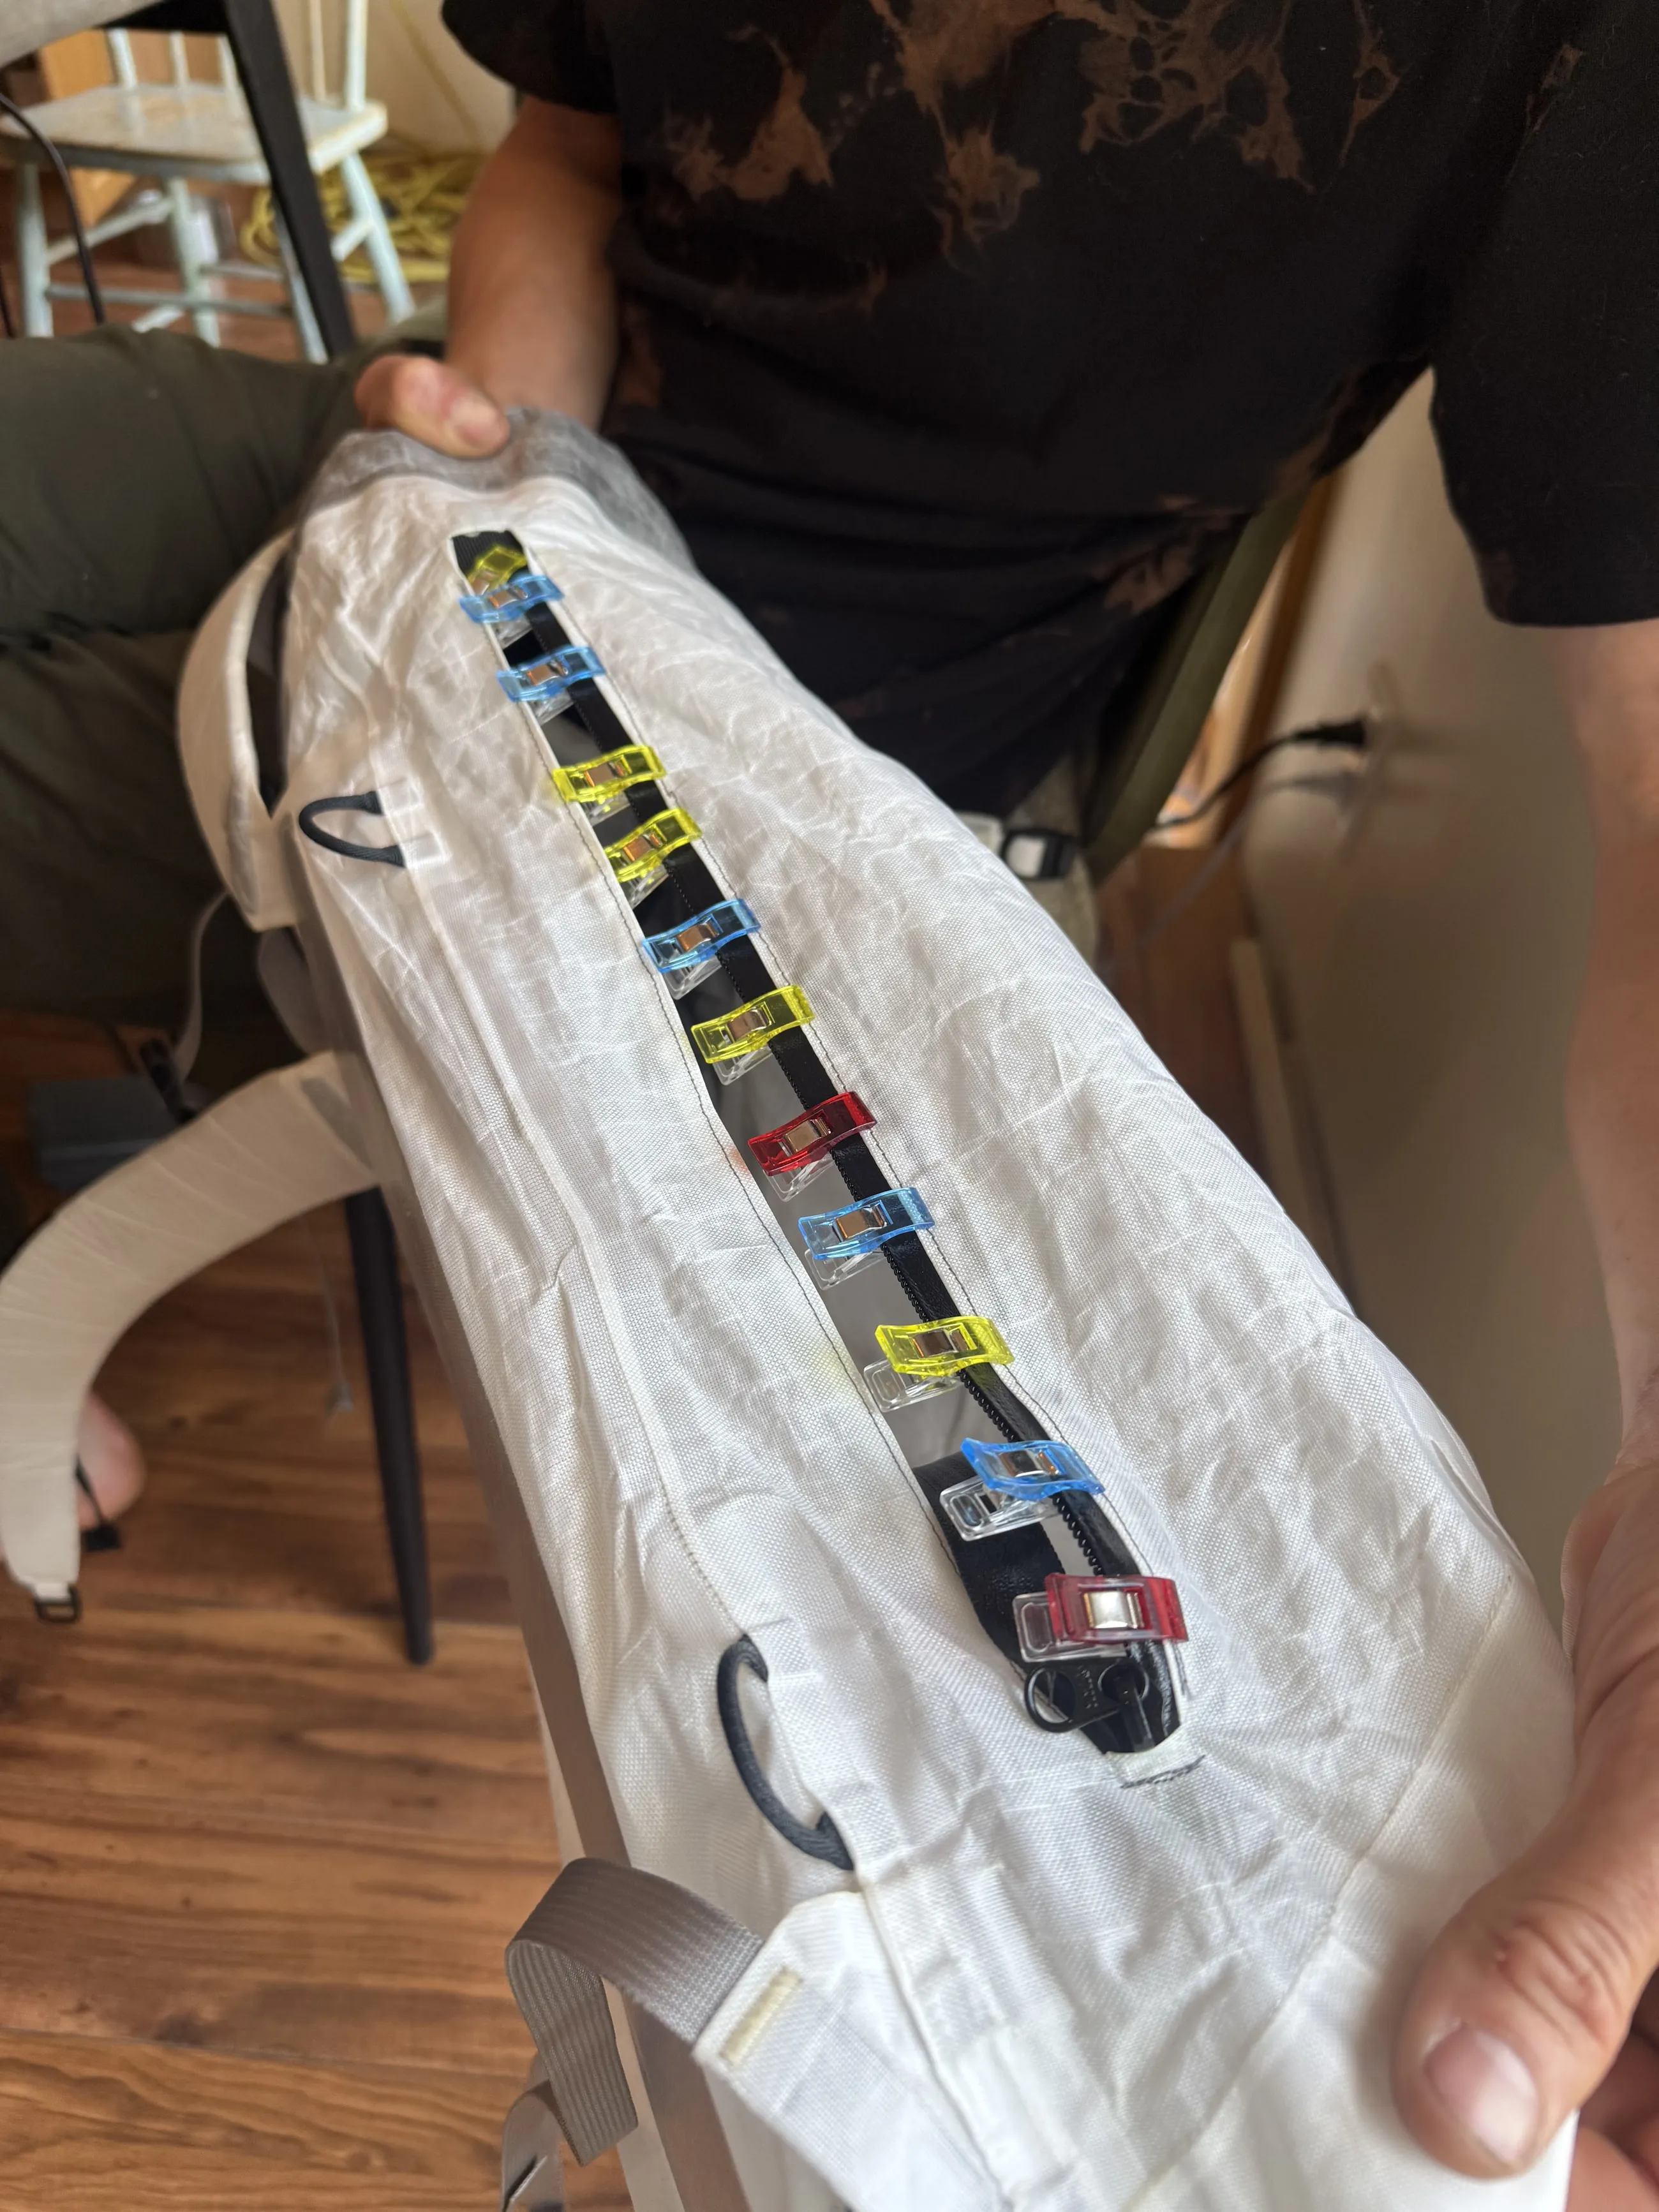
The zipper runs roughly 38 centimetres down one side of the pack and exposes most of the main compartment. We were careful with the placement. It had to give me useful access without interfering with the shoulder straps or putting too much load on the bottom of the zipper.
James started with one straight cut, then added two short angled cuts at both the top and bottom to form a Y at each end. Those cuts created flaps along either side of the slit. Folding the flaps back turned the slit into a rectangular opening and doubled the material along its edges. We then sewed the zipper to that reinforced lip and bar-tacked it into place.
The bottom of the zipper stops about five centimetres above the base of the pack. Gear sitting at the bottom loads the bag itself instead of hanging directly from the zipper. At the top, the zipper stops just below the shoulder-strap attachment. This leaves the shoulder-strap area alone and lets the zipper sit straight when the pack is empty.
We also added a small piece of webbing at the top to make a zipper garage. It gives the slider somewhere to sit and helps keep it from snagging or slowly working open. From the first cut to the finished seam, the whole job took about two hours.
I added a short cord pull using the same type of cord as the other zipper pulls on the pack. It is easier to grab than the bare slider and looks like it belongs there.
The zipper itself does not need to be anything exotic. Water-resistant zippers like this are cheap and easy to find through sewing suppliers, gear-repair shops, or Amazon. Installing it properly matters much more than the name on the zipper.
Sealing the new opening
Once the zipper was installed, I still had to seal the stitching. We had just punched a long line of needle holes through a pack that had very few sewn seams to begin with. Leaving them untreated would have given water a very easy way in.
Seam tape would have looked cleaner, but it is also more temperamental. I took the uglier and easier route and applied Gear Aid seam sealer along both sides of the zipper stitching from inside the pack.
It is not pretty, but it is easy to inspect, easy to touch up, and it works.
To test it, I put a sleeping bag inside the pack and left the whole thing in the shower for 30 minutes. The sleeping bag came out completely dry. That was good enough for me.
I still would not treat the modified pack like a dry bag. The zipper is water-resistant, the seam sealer was applied by hand, and I still put important insulation and electronics in dry bags. But after 20 days in the field and half an hour in the shower, I am confident in it.
Adding a skimo ski carry
The side zipper solved the access problem. The other thing missing for ski mountaineering was a faster way to carry skis.
The Alpha SL comes with removable compression straps at the top and bottom, so you can use an A-frame carry. I have grown to dislike A-frames. They are slower to set up, usually mean taking the pack off, and put a ski on each side ready to catch a tree, rock, or anything else beside a narrow bootpack.
I wanted a skimo-style diagonal carry. The ski tails sit in a loop low on one side, then an upper bungee pulls the skis across the pack towards the opposite shoulder. I can load and remove them without taking off the pack, and the diagonal position is much less likely to snag.
The lower loop takes almost all of the weight. I tried bungee and a few other materials, but I do not see any benefit to stretch here. A stretchy loop lets the skis sag and move around. Webbing, or anything else with very little stretch, keeps the tails where they belong. I girth-hitched the loop to one of the existing attachment points for the bottom compression strap.
The upper bungee only needs to stabilize the skis. One end is girth-hitched to the attachment point for the top compression strap. The bungee wraps around the skis and a rated DMM mini carabiner clips into the centre tab between the two shoulder straps.
Nothing is permanently sewn to the pack. Both pieces use attachment points that were already there, so I can remove everything and go back to the stock compression straps whenever I want.
Loading the skis without removing the pack does take practice. I did it over and over in my kitchen, adjusting the loop and figuring out the movement until I could find the lower loop with the ski tails and clip the upper bungee cleanly. It is only a quick carry once you have practised it a few times.
I strap the skis together before loading them. They act like one solid unit and cannot move independently or saw against the ALUULA. Across five days using the carry, they have not bounced, shifted, touched my neck, or cut into the pack.
The heaviest setup I have carried this way is my Majesty Supernovas. Each ski weighs roughly 1,400 grams and each binding adds another 395 grams, for a total of about 3.59 kilograms. The no-stretch lower loop has handled that weight without any issues.
What the modification changed
The side zipper does exactly what I wanted. I can reach the whole main compartment without unloading it from the top, and I no longer have to keep every important item beside the drawcord. It sounds like a small convenience until the puffy, water bottle, or repair kit you need is underneath everything else.
How I open it depends on how full the pack is. With a full load, I lay it on its side with the zipper facing up. With less inside, the pack will stand vertically while I open it. I am not trying to open it like a clamshell. I only unzip far enough to grab what I need.
The ski carry is also much faster than building an A-frame. I put the tails through the lower loop, swing the skis across the pack, and clip the upper bungee. The skis sit close to my body and stay out of the way in tighter terrain.
The zipper adds some weight and another thing that could eventually fail. The ski carry also puts the weight of the skis onto a few small attachment points. I keep an eye on all of it, especially the zipper stitching and the lower ski loop.
The zipper has not changed how the pack carries or holds its shape. I would still use both stock compression straps with a heavy, tightly packed load. Cinching them takes some of the outward pressure off the zipper and spreads the load around the body of the pack. With a light load it matters less. With dense gear packed to the limit, I consider those straps mandatory.
Most importantly, it still feels like an Alpha SL. We added a second way into the tube and a faster way to carry skis. That is about it.
I have used the modified pack for roughly 20 days. Five involved skis and most of the rest were alpine climbing. The zipper has not leaked, snagged, crept open, or shown any worrying wear. The folded lip and bar tacks still look solid, and the ski carry has worked without any problems. So far, I have not found a real downside in how the pack carries or functions.
Where it fits in my pack quiver
The modification worked. The harder question is where this pack fits in my quiver.
If a big mountain day involves climbing, skiing, glacier travel, and all the gear and extra layers that come with those things, I am probably taking my Raide Research pack. The extra capacity and ski-specific organization make more sense when the day starts to look like a midwinter mountain siege.
At the other end, if I am doing speed intervals or heading out for a quick fitness lap, I will probably take the 20-litre Samaya Ultra Pace. Its vest-style fit is better for moving quickly with a very small load.
The Alpha SL sits between them. I use it mostly as an alpine climbing pack, but I think this version will be at its best on fast and light, Alps-style spring ski-mountaineering objectives. I am thinking about climb-heavy days with a stable forecast, a small kit, and no need to carry a pile of puffy layers for a winter mountain siege. It is not my do-everything ski pack. It is a very light alpine pack that can now carry skis without fighting me.
What I would change next
Since doing this project, I picked up the Samaya Ultra Pace 20. Its removable ski carry is extremely light and looks more polished than my collection of bungee, webbing, and a carabiner.
I may adapt that system to the Alpha SL. The DIY carry already works, so there is no urgent reason to change it. The Samaya setup would mostly make the whole thing look cleaner.
I would not change anything about the zipper. It fixed the exact problem I had, and the ugly seam sealer is hidden inside where it belongs.
I already liked the weight and simplicity of the Alpha SL 30. I just did not like digging through one top opening or carrying skis in an A-frame. One nervous, well-hydrated evening at a kitchen table fixed both. The first cut was difficult. Living with the result has been easy.